Scan to PC allows you to walk up to the scanner and select a pc ID to scan to. In setting up the ID you can pick a specific location on your computer to scan to.
To get started we need to download and run Easy Printer manager. It can be downloaded during driver setup, or directly downloaded from these links PC or Mac
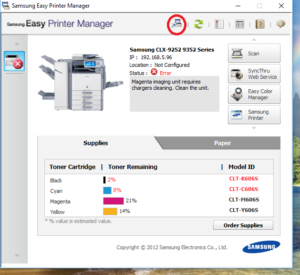
When Easy Printer Manager is opened for the first time, it opens in simple mode. To set up scan to pc, select the advanced mode button, as illustrated in the image below.
Once in advanced mode, in the left pane, select the scanner or MFP that you want to use.
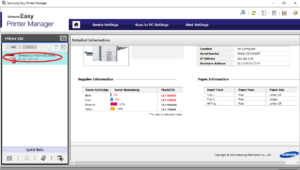
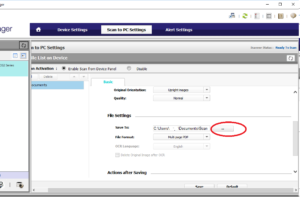
Open the Scan to PC Settings tab in the upper area.
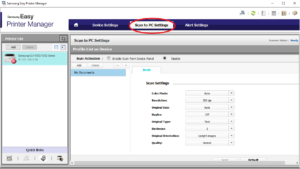
Enable Scan to PC. Its the check bubble on the left.
Choose the file destination you prefer by scrolling to file setting and selecting the browse button .
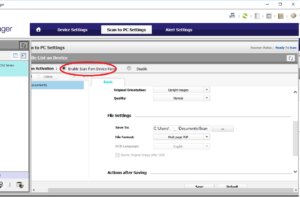
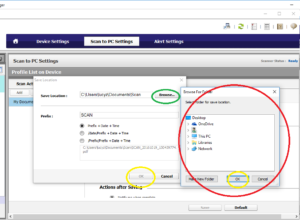
In this window select browse if you prefer a different location then the default. Then select your preferred location and click ok.
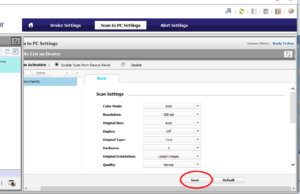
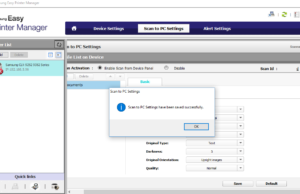
Click Save at the bottom
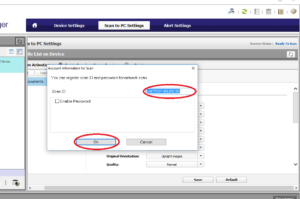
Create the Scan ID you prefer and select OK.
Your Settings will be saved at this point and they should be displayed in the scan to pc options on the Scanner or MFP.
Easy Printer manage-Simple Mode