For all those people out there who need to speed up their work flow this guide is for you. We will go over creating a workflow shortcut on the desktop. For one click scanning, to go where you need it to, configured how you need it to be configured.
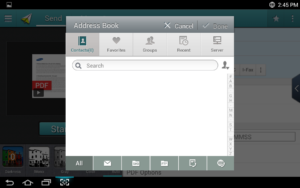
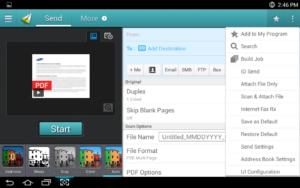
The first step is to select the scan location. It can be smb, pc, email or what ever location you frequently need scans to go to.
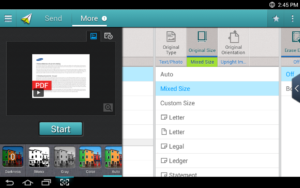
Secondly we are going to want to select our preferred settings. In this screen shot we are selecting Mixed Size. To allow mixed size to show up in this field we will have to have paper resting in the scanner adf for the rest of this process.
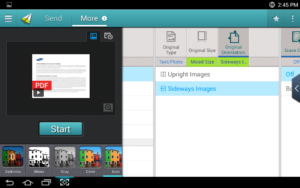
Another setting that is based on how you load paper is the original orientation. This one may or may not have a graphic that reflects how the scan will show up depending on the way the paper is loaded into the adf.
There are plenty of other presets you can select. I only gave example of the most commonly sought after settings.
After you have selected all your preferred settings you are going to click on the three vertical dots, right of the star in the upper right corner .
When this menu drops down you are going to want to tap on the “Add to My Program” selection on the top of the drop down list.
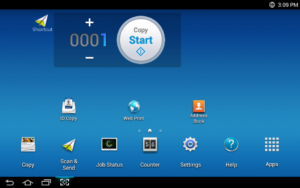
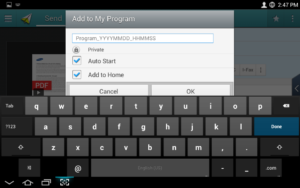
We are going to give the program a name, then we will enable auto start and add it to the home screen. This will make it a one click icon on the desktop
Now you will have a icon that looks like a paper plane sitting on your desktop. You will want to have your paper loaded before you click the icon.